How to schedule the Agent
With the time scheduler you can schedule the agent run on some regular bases (schedule). For example, you need to extract your data every working day at 12:00 AM or you need it extracted every hour. Time scheduler is supported in WebSundew Professional and Enterprise editions. It is available both in the program itself and as a separate application. To schedule the Agent you need to perform the following steps:
-
Run WebSundew server (if it is not running). You can run it from the Windows start menu
All Programs > WebSundew 4 (Edition) > Tools > Server
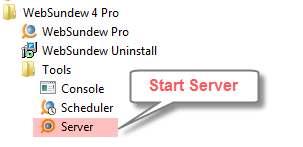
You will see a symbol in the tray bar when it is run.
 -
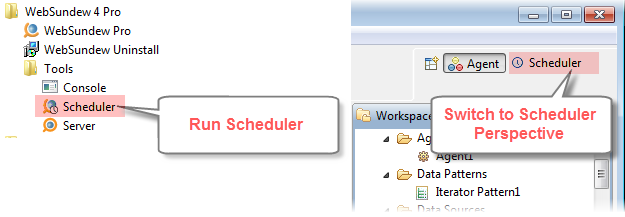
Run scheduler application
All Programs > WebSundew 4 (Edition) > Tools > Scheduler
or open the perspective Scheduler
in the main program.
-
Connect to the server. Select server in the Server
view and click Connect
.
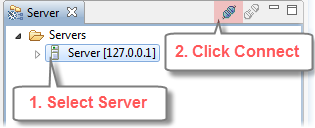
Also the server will be connected if you expand server in the Server view. -
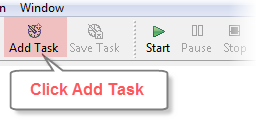
Click Add Task
in the tool bar. Task scheduler wizard will be activated.
-
Select the project file and the Agent. Click Next
.
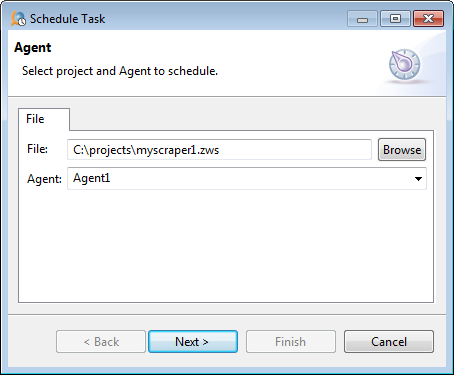
-
Select the scheduler mode you need (run the Agent Daily, Weekly, Monthly, ...). Click Next
.
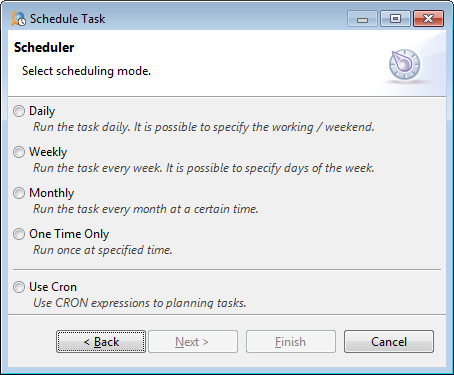
- Configure scheduler. Also you can set up the date when the given scheduler mode starts and ends its work (blocks Starts and Ends). When all the necessary values are selected click Finish .
-
A new task will appear in the Server
view.
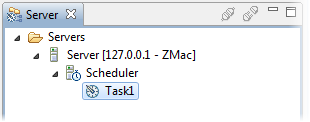
Hints
- If you need to run the agent manually (you do not want to wait till it is run on schedule) click Run in the tool bar.
- If you do not need to schedule your task in some standard way (daily, weekly, etc.) use CRON mode. CRON mode supports greater flexibility in scheduling. You can get more detailed information on CRON here .
- If you want to stop the task you scheduled, switch the scheduler mode to None .
Page Modified 6/9/17 10:12 AM


